Haze Meters HZ-V3 DISCONTINUED
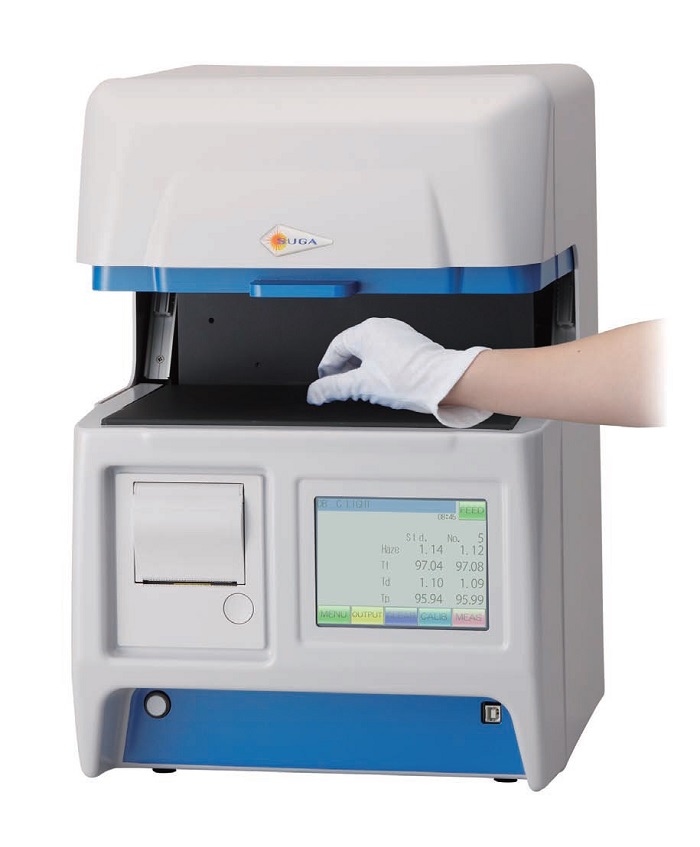
Haze Meter is an instrument that measures an object’s haze value, which is the ratio of total light versus diffused light that passes through an object. A totally translucent material will have a haze value of 0, and the value will increase as the amount of diffused light increases (making the light appear foggier). This instrument is applied in a wide range of commercial industries that handle translucent materials, such as plastics, glass, beverages, pharmaceuticals (liquid), cosmetics, and also films and encapsulants for liquid crystal displays, photovoltaic modules, etc. In order for us to respond to the voices of our customers and become able to handle the ever so diversifying specimens, HZ-V3 was developed with the pursuit of usability and accurate measurement. The instrument can be set either vertically or horizontally, depending on the specimen.
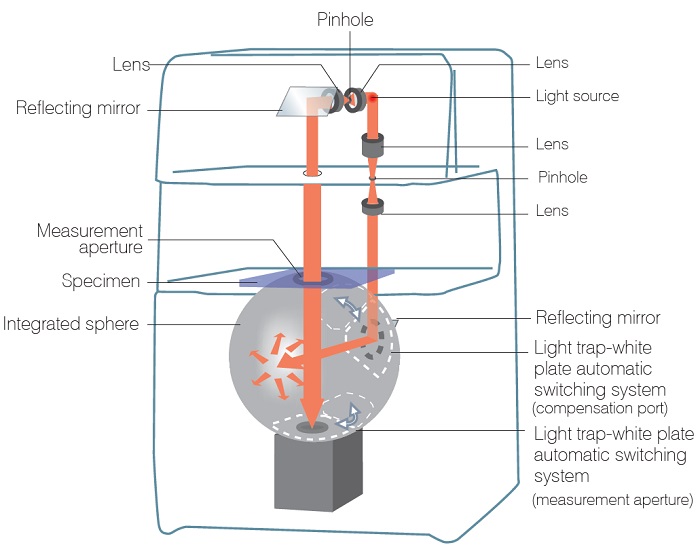
TM Double Beam Method developed by SUGA
The TM Double Beam method is a system which continuously compensates the shift in the amount of light, which allows for stable measurement over a long period of time. The beam from the light source is divided into two highly parallel beams, and then automatically enter the integrated sphere alternately through the measurement aperture and the compensation port.
Measurement Accuracy
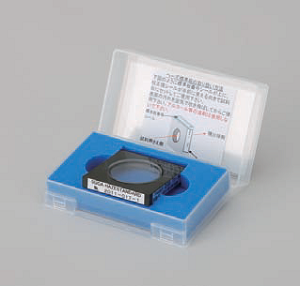
The attached calibration standard plate is traceable to the UK’ s National Physics Laboratory. The instrument’ s accuracy is established and maintained with Suga’s JCSS light calibration technology. It can also be calibrated with the calibration standard plate specified in ASTM D1003 (PAT.).
Vertical or Horizontal Positioning
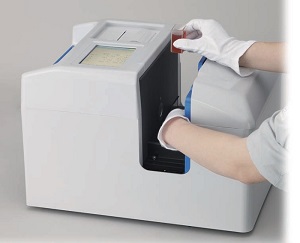
This instrument can be set either vertically or horizontally depending on the size and shape of the specimen to be measured.
By setting the haze meter horizontally, specimens such as films and liquid cells can be fixed using the special specimen stage so that they can be measured under the same conditions each time.
By setting the haze meter vertically, plate-shaped specimens can be measured simply by placing it on top of the flat specimen stage.
Automatic Measurement after the lid is closed
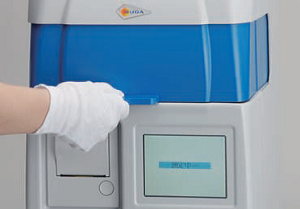
The automatic measurement mode allows the measurement to be performed automatically after the lid is closed with the specimen set inside. Measurement duration max. 2.5 seconds.
Flat Specimen Stage for Large Specimen
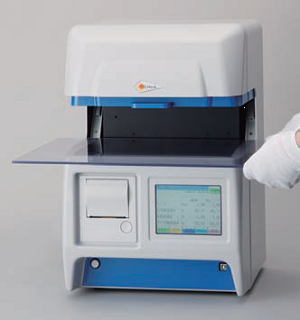
Specimen size up to 260 x 180 x 30 mm (10.24" x 7.09" x 1.18") can be set (when the instrument is positioned vertically). The stage is flat, making it possible to measure samples that are too big to be set in the room.
Easy Lamp Replacement
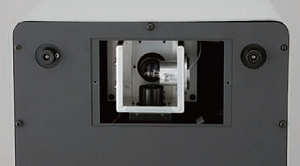
The new design has made the alignment procedure after the lamp replacement unnecessary. The lamp replacement procedure done at the back of the instrument can also be done with ease (approximately every 2000 hours).
One-in-all Unit with Touch Panel and Built-in Printer
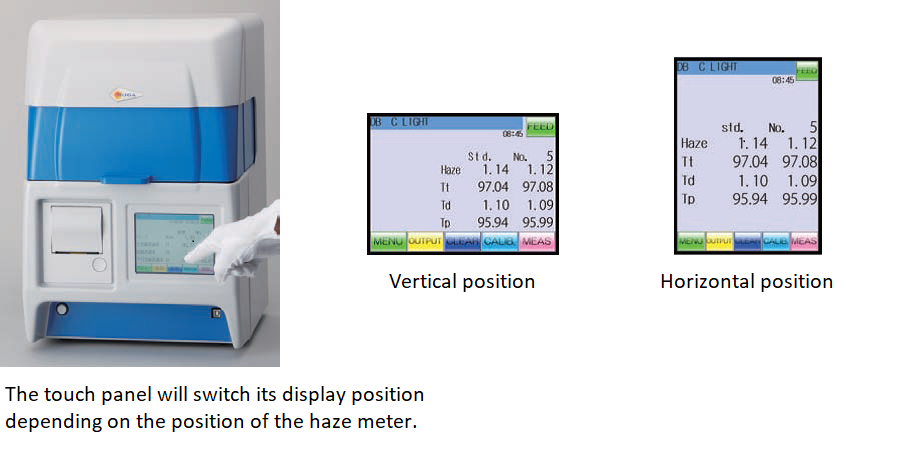
Optical and operation units come in a single compact 32 x 32cm (12.60" x 12.60") dimension (at vertical position), taking up little space for installation. Operation is made easy with its clear-to-see 5.7 inch high-definition TFT color touch panel.
No Need for Complicated Procedures
ISO 14782* and ISO 13468-1** requires for the white standard plate to be placed before placing the specimen, but HZ-V3 is equipped with a light trap–white plate automatic switching system, allowing for measurements to be performed in a single action (PAT.).
*ISO 14782 "Plastics-Determination of haze for transparent materials"
**ISO 13468-1 "Plastics-Determination of the total luminous transmittance of transparent materials-Part 1:Single beam instrument"
Enhanced Data Management System
Measurement data can be transferred to PC from USB interface with the Excel transfer software that comes as a standard accessory.
Various Accessories (option)
Various accessories (specimen holders) for different kinds of specimens are available.
An accessory of aperture diameter φ7mm is provided for JIS R 3212 to measure the haze of safety glazing materials after abrasion test.

Specification
| Measurement method | TM Double Beam method |
|---|---|
| Measuring light | C light / D65 light / A light (Selectable 2 lights) |
| Measurement items | Haze(Haze), Total Luminous Transmittance(Tt), Diffuse Luminous Transmittance(Td), Parallel Light Transmittance(Tp) |
| Specimen dimension | Max. 260x180xthickness 30mm / Max. 260x145xthickness 25mm (use specimen stage) |
| Light source | Halogen lamp 12V 20W |
| Light receptor | Combination of photocell and filter |
| Functions | Data memory (max. 500 data), Language changeover system (English and Japanese), Average (max. 99 times) / Automatic measurement mode |
| Measurement time | Maximum 2.5 sec. |
| Display and control | 5.7 inch high-definition TFT color touch panel |
| Printer | Prints the measuring light, measurement items and measured value |
| Interface | USB2.0 B terminal (transfers measurement data to PC) |
| Stability | Within standard deviation of 0.02 ⊿Tt (measuring 30 times in a row using air space after adjusting to standard) |
| Power source | AC100 - 240V 50/60Hz |
| Dimentions and mass | Approx. W32xD32xH48cm (W12.60"xW12.60"xH18.90") at vertical position, approx.18Kg (40lbs) |
| Standard accessories | Excel transfer software, Calibration standard plate x 1pc (A haze standardd plate is selectable from haze 1% / 10% / 20%, included total luminous transmittance value) |
| Options | Haze standard plate with haze value other than the 1% / 10% / 20%, Foot switch, Specimen holders (Liquid cells, magnetic film holder, attachment for JIS R 3212: aperture diameter φ7mm) |
| Test Standards | ASTM D1003, ISO 13468-1, ISO 14782, JIS K 7136, JIS K 7361-1, JIS K 7105, JIS R 3212 (A light) |
